 ShipKit
Walkthroughs / 2026-09-01
From clone to deployed, start to finish
Every step between `bun install` and a live domain — what you configure, in what order, and which steps you genuinely cannot automate.
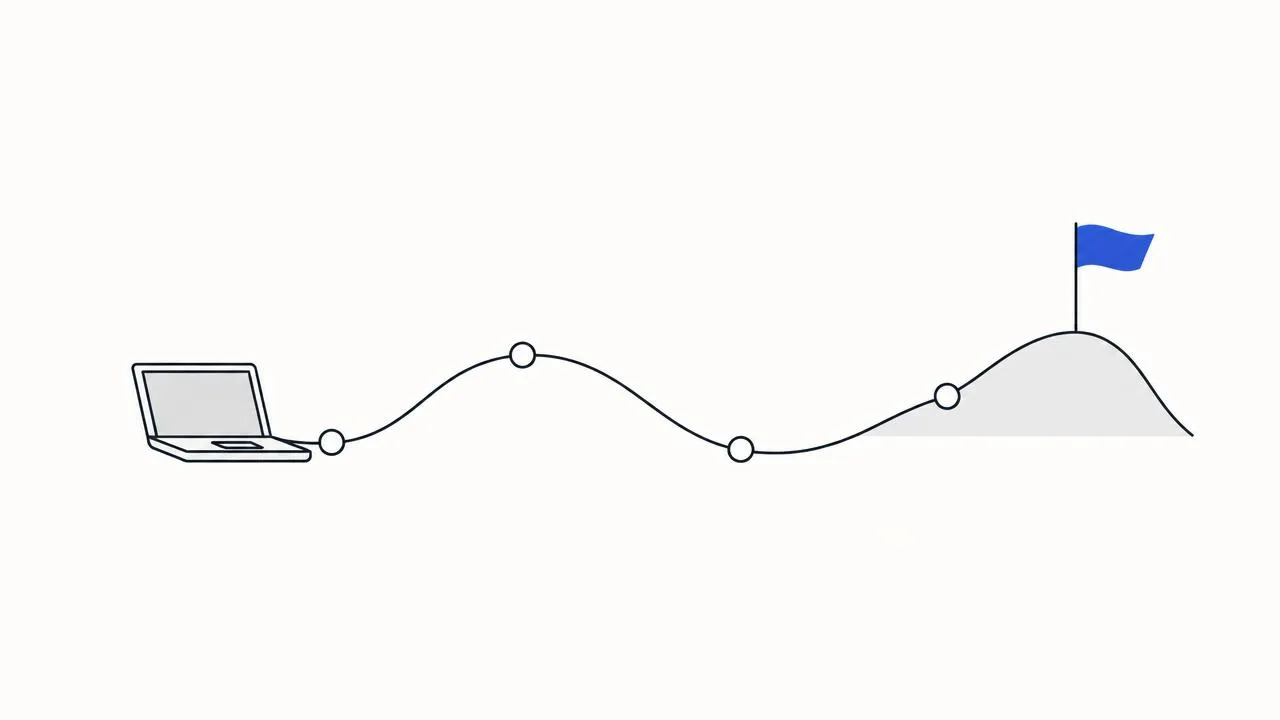
This is the whole path, in the order the dependencies actually run. Nothing here is optional except where it says so.
If you work with Claude Code, you can hand steps 1, 2 and 4 to the skills that
ship with the repo (/setup, /google-oauth, /stripe or /creem, then
/deploy). They run the same commands and check the result. Here is what they
do, so you know what you're approving.
1. Secrets, database, run (5 minutes)
bun install
cp .dev.vars.example .dev.vars   # then set BETTER_AUTH_SECRET: openssl rand -base64 32
bun run db:migrate:local
bun run db:seed                  # optional: 90 days of demo data for the admin pages
.dev.vars is gitignored; never force-add it. The environment is validated at
boot and Google's client id and secret are required, so do step 2 before
bun run dev. If you want to look around first, placeholder values pass
validation and the app starts. Only the Google button won't work.
2. Google OAuth (10 minutes, mostly browser)
Create an OAuth client in Google Cloud with redirect URI
http://localhost:3000/api/auth/callback/google. Put the id and secret in
.dev.vars, and the id also in appConfig.googleClientId: One Tap runs
in the browser and needs it public. Then:
bun run dev
Google isn't the only way in. Emailed sign-in codes work locally without any
email provider: until RESEND_API_KEY is set, the code is printed in the dev
server's log. GitHub sign-in is optional; set its client id and secret and the
button appears.
Sign in, then promote yourself:
bunx wrangler d1 execute DB --local \
  --command "UPDATE user SET role='admin' WHERE email='you@example.com';"
3. Make it yours (30 minutes, and worth every one)
src/config/app-config.ts first: name, canonical URL, support address, legal
entity. Those values reach the marketing pages, every transactional email, and
the Terms and Privacy pages — the legal entity is printed verbatim, so fill it
in before you take a payment.
Then src/config/plans.ts. The comment at the top explains the ladder: packs
sell at list price, subscriptions below it, and plans.test.ts fails the test
suite if a tier ever drops under a margin floor. Set CREDIT_COST_CENTS from a
measurement, not a guess.
4. Payments (20 minutes)
Stripe and Creem both work; PAYMENT_PROVIDER picks which one takes new
checkouts, and both can be configured at once. With Stripe: create the catalog — one product per tier, one recurring price per interval —
and paste the ids into plans.ts, replacing the REPLACE_ME placeholders. Put
the secret key and webhook secret in .dev.vars and set PAYMENT_PROVIDER.
Test locally with the Stripe CLI forwarding to your dev server (Creem has its
own signed local test in the /creem skill):
bun run stripe:listen
Buy something with a test card and watch the ledger move. Until a provider key exists the purchase buttons say so instead of starting a checkout, so this step is safe to defer.
5. Deploy (15 minutes)
wrangler d1 create shipkit            # id → wrangler.jsonc
wrangler r2 bucket create shipkit-files
bun run db:migrate:remote
grep -v '^#' .prod.vars | grep = | wrangler secret bulk
bun run deploy
Migrations are applied by hand, never from CI — a schema change is a deliberate, watched step, and the deploy job refuses to ship code whose migrations are still pending.
For a small product, all of this runs on the $5 Workers Paid plan. We worked out what it costs next to Vercel and Postgres at 1,000 and 10,000 users.
6. The things only you can do
A second Google OAuth client for the production origin. A webhook endpoint in
the payment dashboard pointing at <your-domain>/api/webhooks/stripe. A
verified sending domain in Resend. These are browser steps with no API worth
scripting — which is exactly why the repo ships Claude Code skills that walk
you through them and verify the result instead of pretending they do not exist.